Manage a group
This article explains how to manage user groups in the roommaster Web app, including editing group details, managing folders, and managing users.
Accessing the Groups tab
- Only users with upper permissions or manager roles can access the Groups tab
- Click on the Groups tab from the main navigation to view all existing groups
Managing a user group
- Click on the group you want to manage
- A side panel opens with the group details
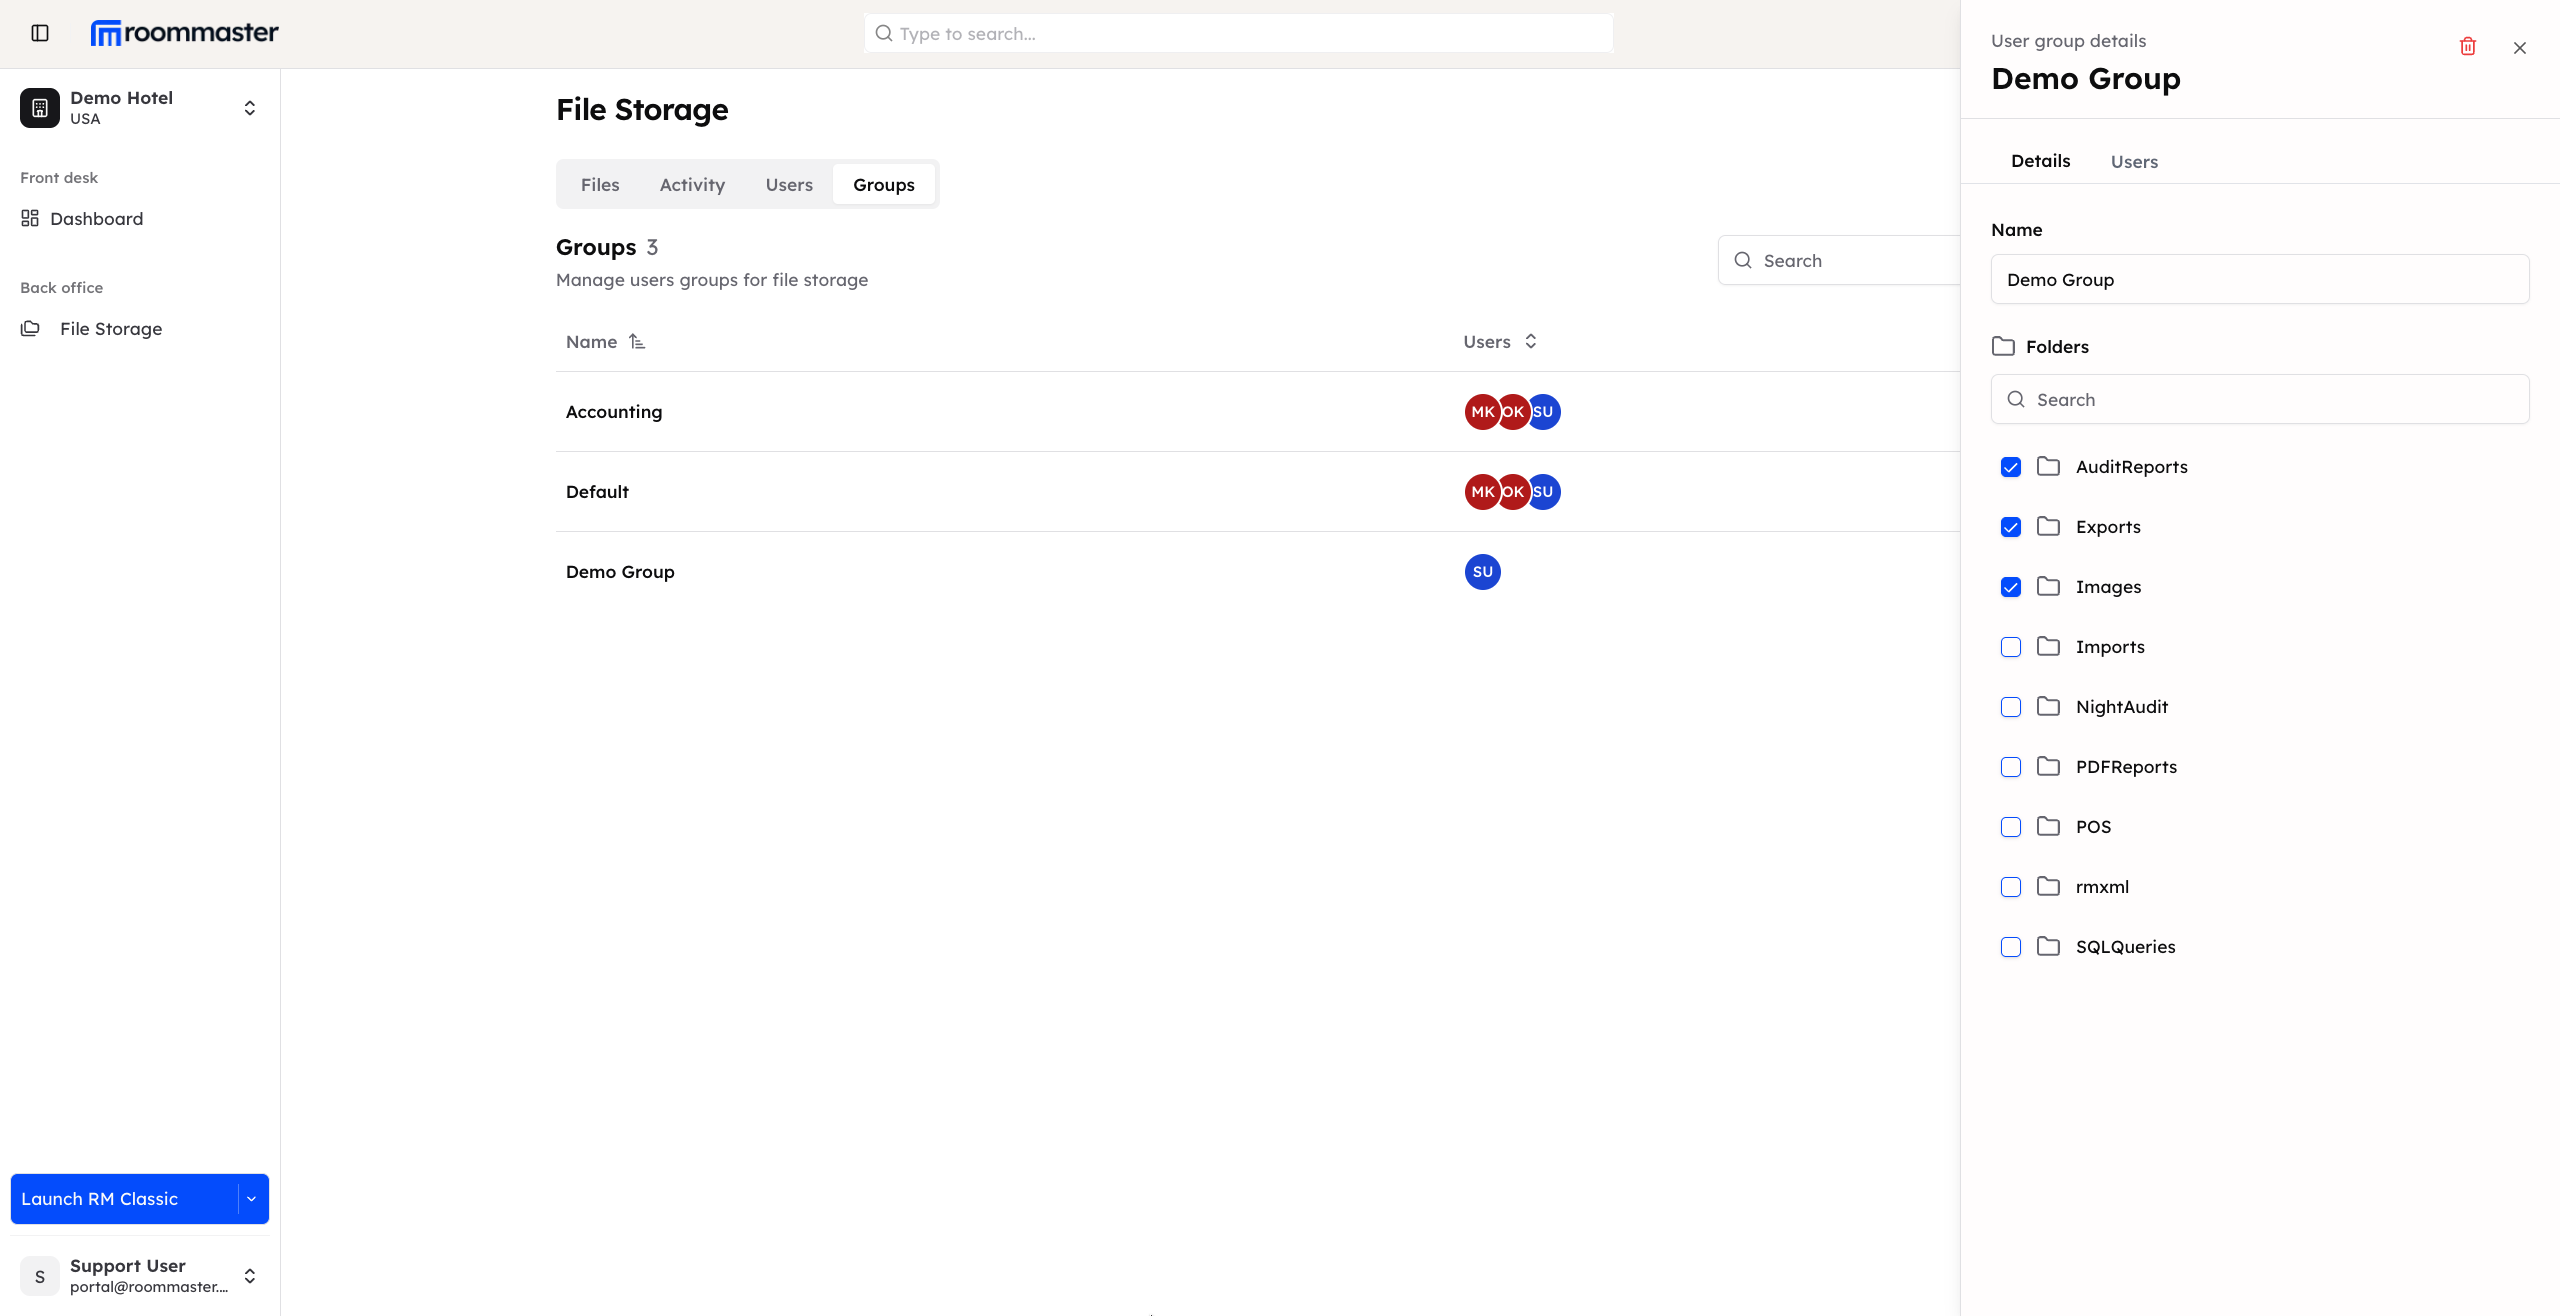
Details tab
- Edit Group Name: You can change the group name (except for the default group, which cannot be renamed)
- Manage Shared Folders:
- Add folders: Users in the group gain access to the newly added folders
- Remove folders: Users in the group lose access to the removed folders
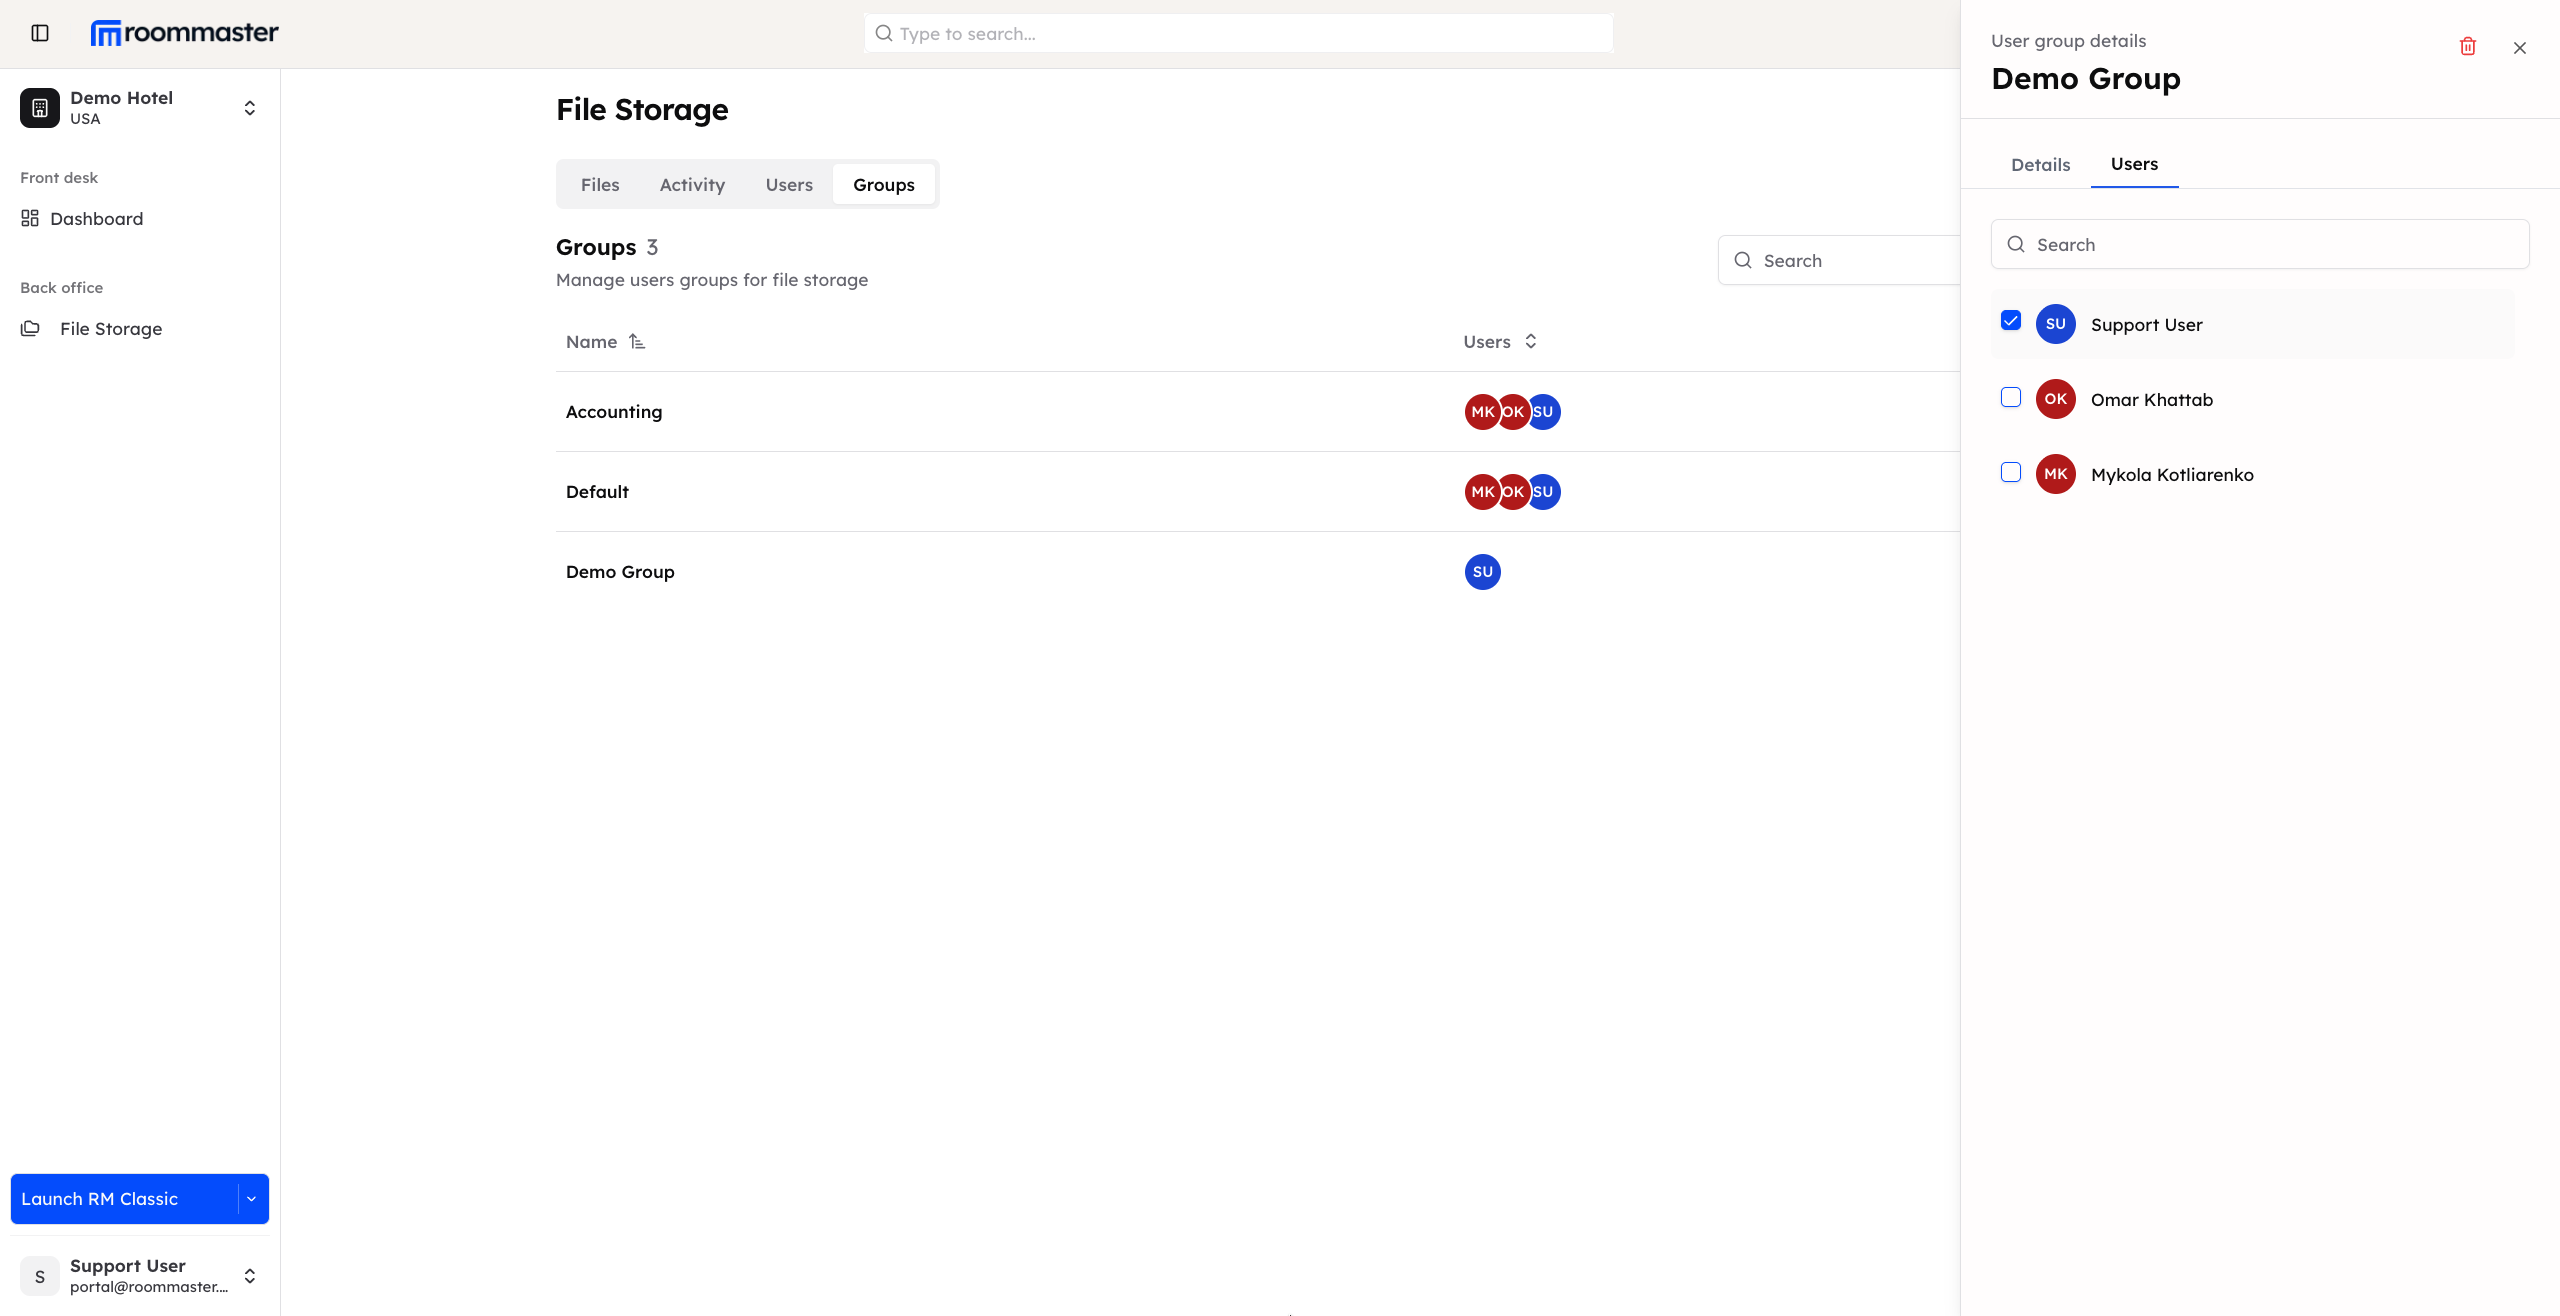
Users tab
- Add Users: Grant selected users access to all folders shared within the group
- Remove Users: Users removed from the group will no longer have access to files and folders shared within the group
Important notes
- The default group cannot be renamed or deleted
- Other groups can be deleted if they are no longer needed
- Proper group management ensures that users only have access to the files and folders they are authorized to view
Support
For additional support, please visit our Knowledge Base or contact our support team at support@roommaster.com.